How a Roofing Installation Contractor Manages Your Project From Start to Finish
A roofing installation contractor manages your project through a clear, step-by-step process that keeps homeowners informed and protected from the first inspection to the final walkthrough. Many homeowners in Lincoln, NE, are unsure what to expect when hiring a roofing installation contractor, which can make a large project feel overwhelming. Understanding how the process typically works can help you make better decisions and feel confident every step of the way.
Step 1: Initial Roof Inspection and Assessment
Every professional roofing project begins with a thorough inspection. A contractor visits your property to evaluate the current condition of your roof, looking for worn or missing shingles, damaged flashing, soft spots in the decking, and any signs of water intrusion. In Lincoln, NE, this inspection may also look for issues caused by hail strikes or freeze-thaw stress, both of which are common across Lancaster County due to Nebraska's four-season climate. The findings from this inspection shape everything that follows, so it pays to ask questions and understand what the contractor observed.
Step 2: Material Selection
Material selection is a critical decision that affects how long your roof will perform. A qualified roofing installation contractor will walk you through available options, explaining the differences in durability, appearance, and suitability for local weather conditions. Nebraska sits in a region with a high hail frequency, so many homeowners in the Lincoln area choose impact-resistant shingles designed to hold up against severe storms. Your contractor can explain which materials may offer added protection and which products come with manufacturer warranties. Learn more about your options on the residential roofing installations page.
Step 3: Permits and Local Requirements
Most roof replacement or new installation projects in Lincoln, NE, require a building permit from the City of Lincoln. A reputable roofing installation contractor handles this step on your behalf, submitting the necessary paperwork and ensuring the work complies with local building codes. Skipping the permit process can create problems when you sell your home or file an insurance claim, so this step matters. Confirming that your contractor manages permitting is an important part of vetting any roofing professional.
Step 4: Tear-Off and Deck Preparation
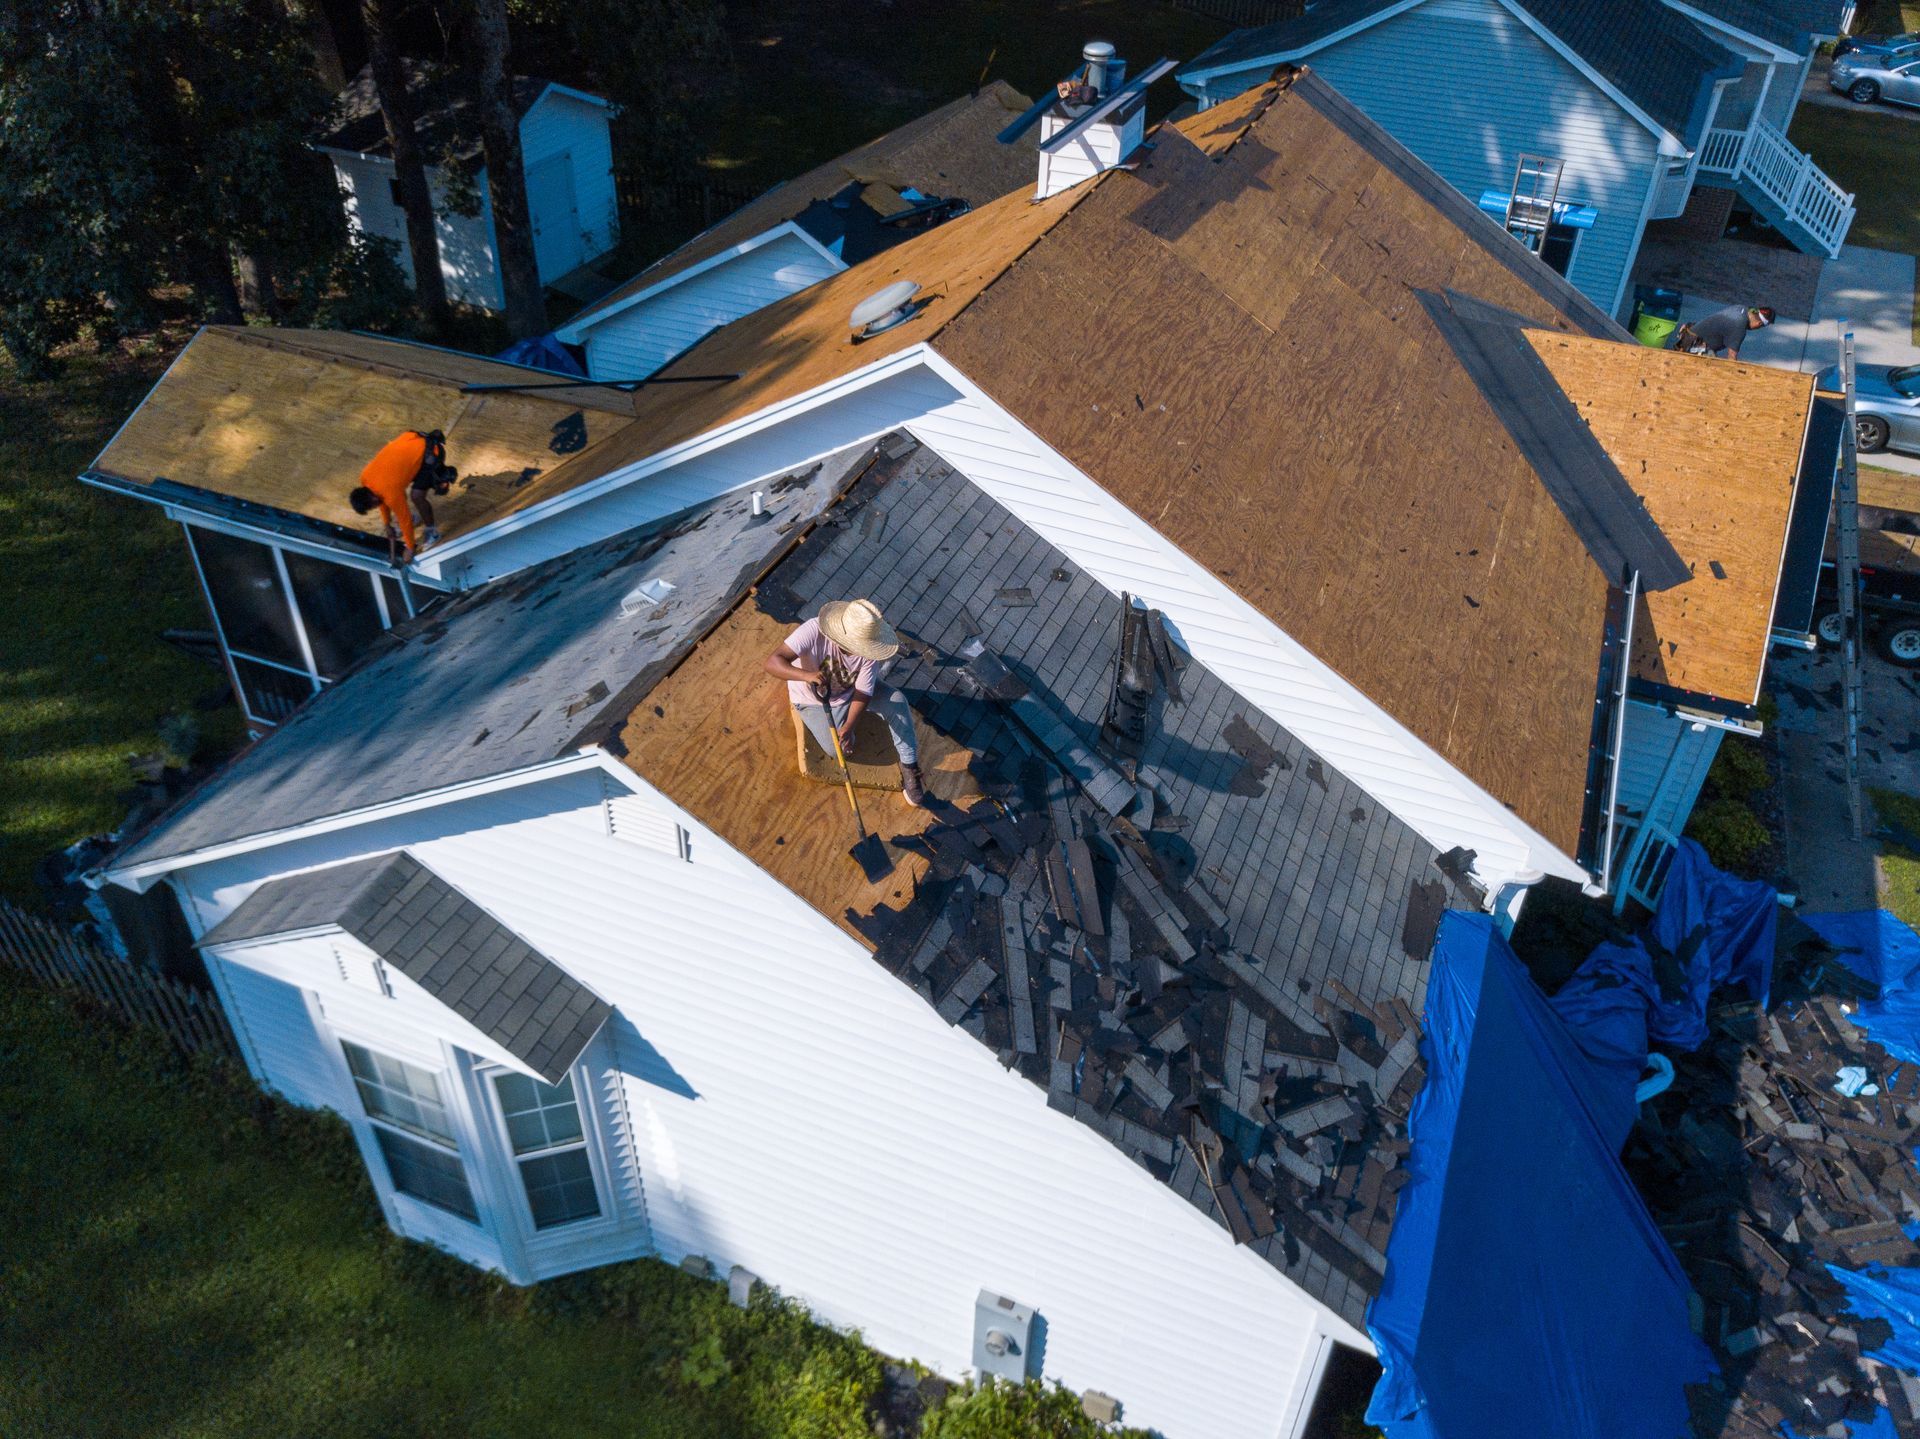
Once permits are in order, the physical work begins. The crew removes existing roofing material down to the decking, which allows them to inspect the wood underneath for rot, moisture damage, or structural concerns. In a climate like Lincoln's, where freeze-thaw cycles can push water under shingles and into the decking over time, this layer-by-layer inspection can reveal hidden problems that a surface-only inspection might miss. Any compromised decking sections are typically replaced before new materials go down, giving the new roof a solid foundation.
Step 5: Roof Installation
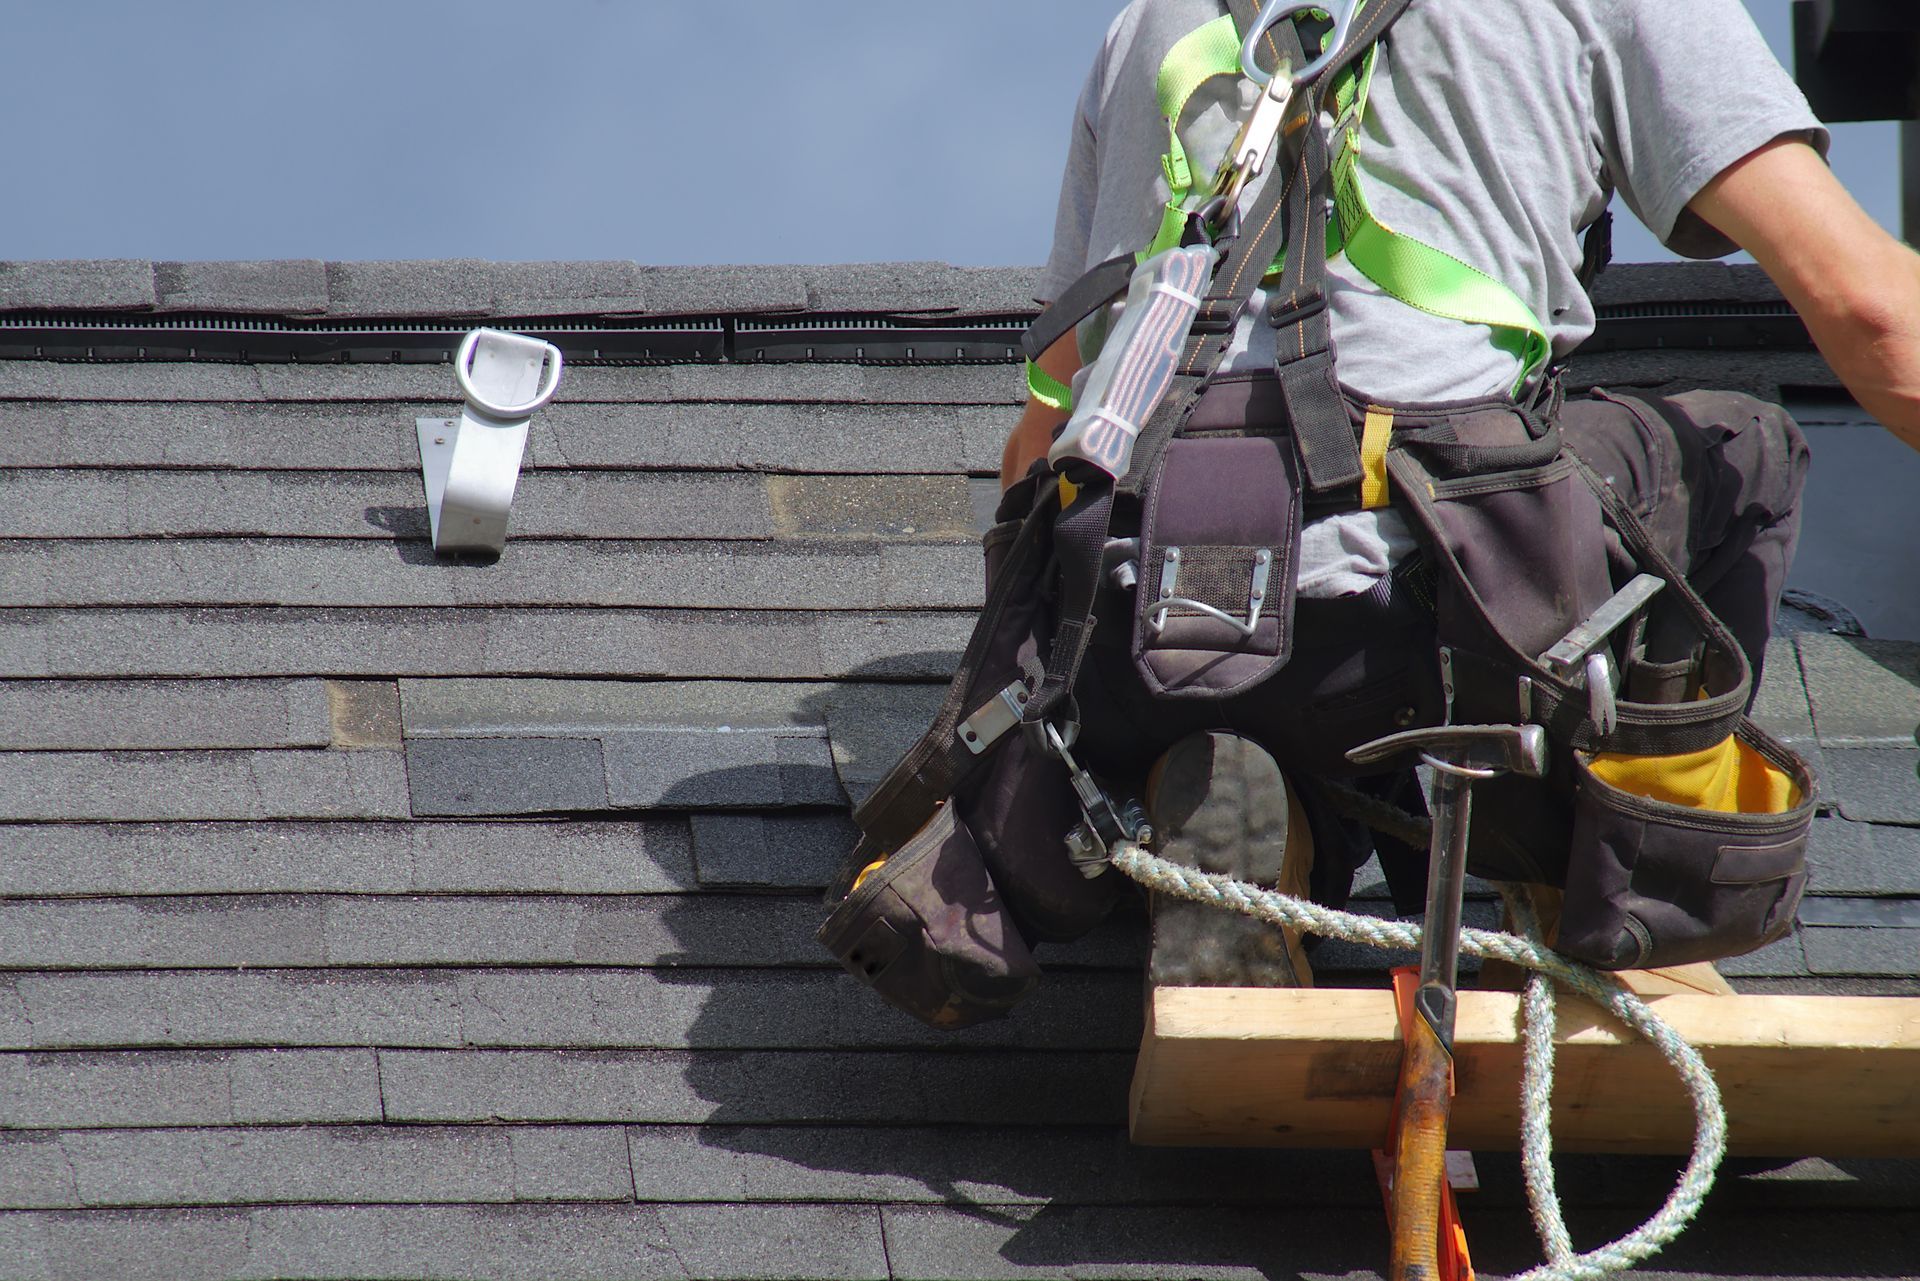
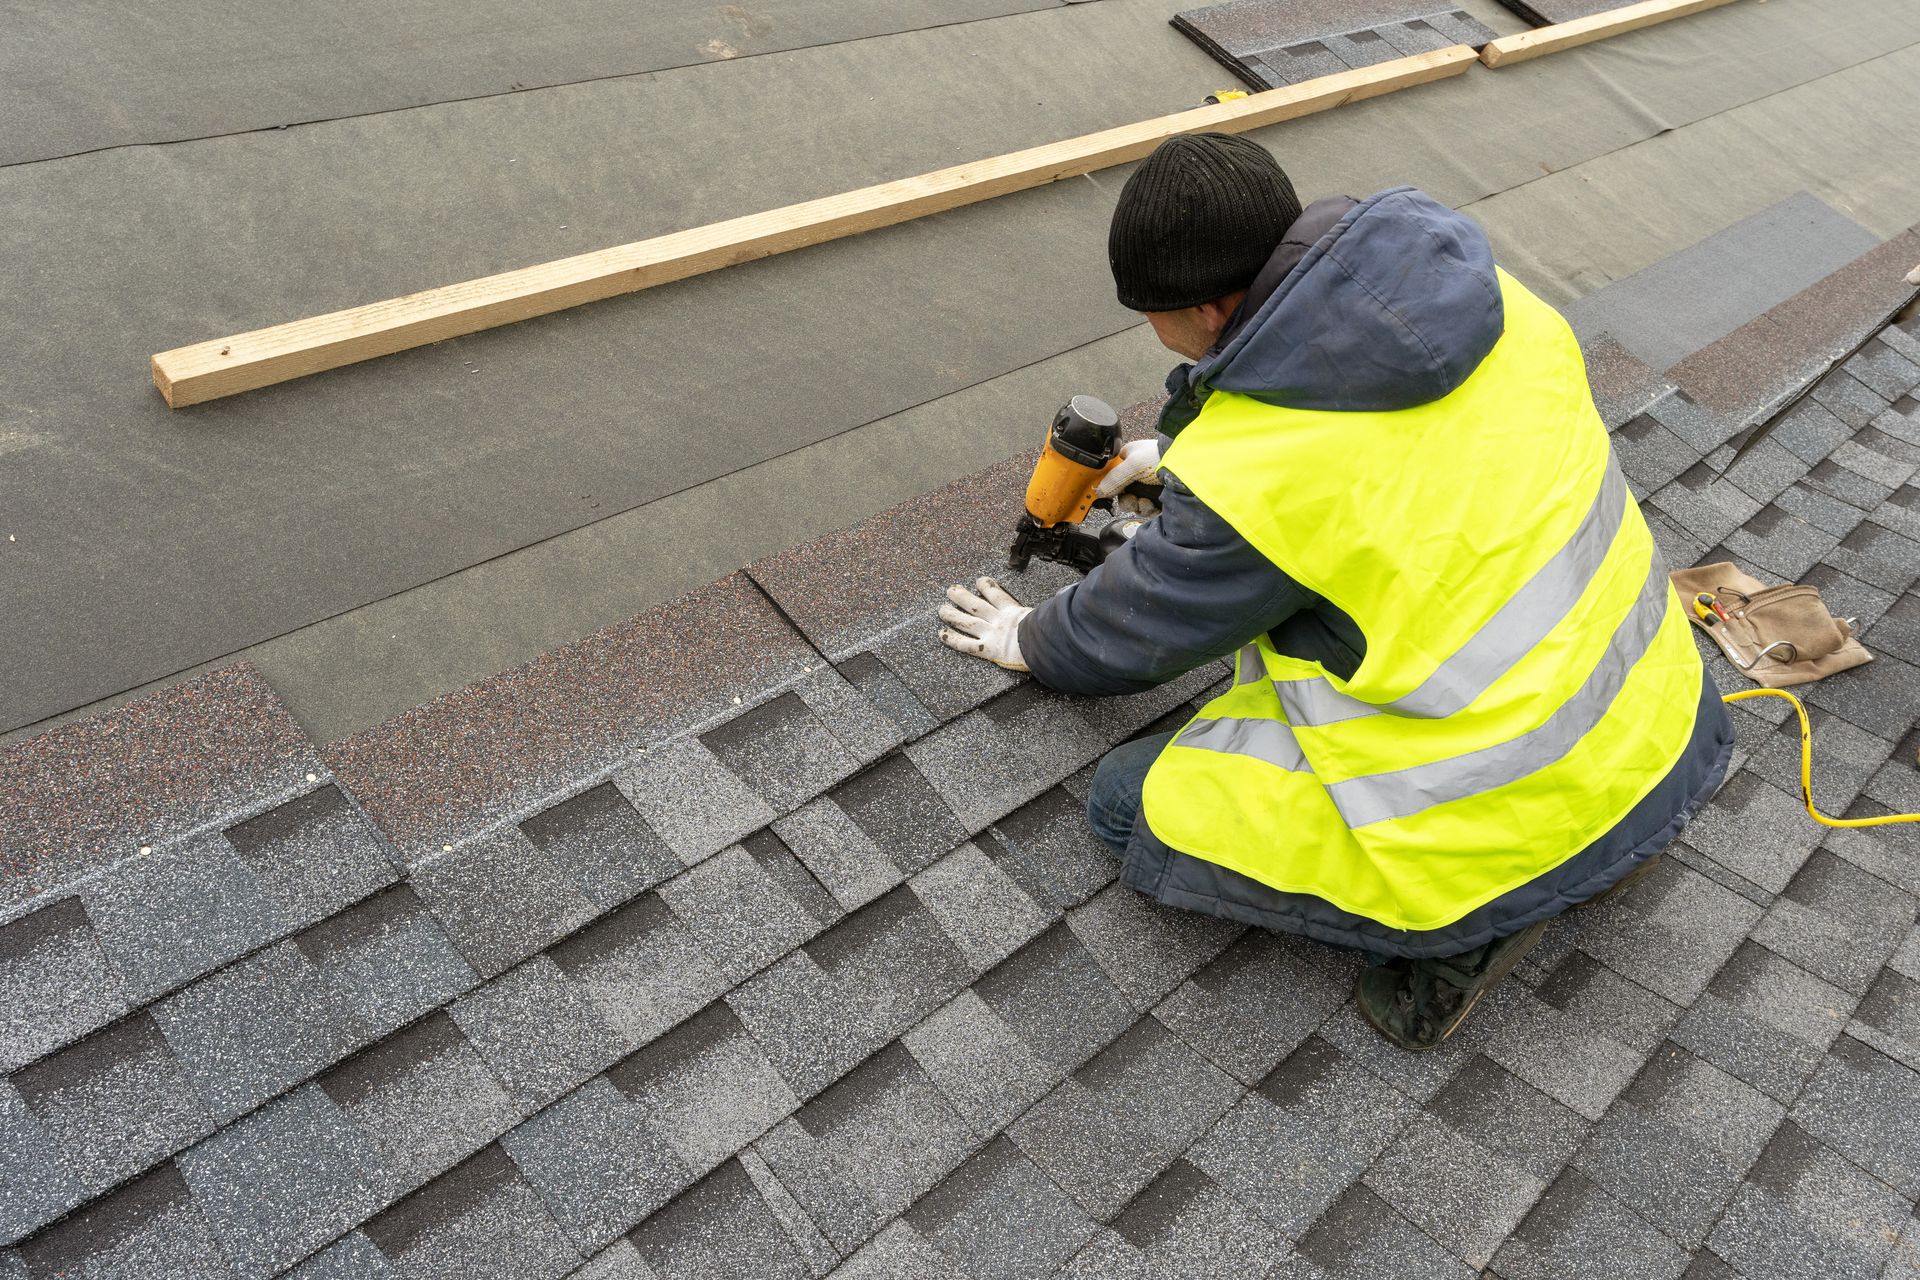
Installation is where all the planning comes together. A skilled roofing installation contractor works systematically, starting with ice-and-water shield along the eaves and valleys, followed by underlayment across the full deck, and then the shingles or chosen roof covering. Proper nailing patterns, flashing around chimneys, vents, and skylights, and ridge ventilation are all part of a correctly installed roofing system. Hail season in Nebraska typically runs from late spring through early fall, so contractors often prioritize scheduling to avoid active storm periods when possible, keeping your project on track.
What Happens During Cleanup?
Site cleanup is a standard part of a professionally managed roofing project. After installation wraps up, the crew typically uses magnetic rollers and rakes to collect nails from landscaping, driveways, and grass. Old shingles and debris are loaded and hauled away, leaving your property clean. A good contractor communicates the expected cleanup timeline upfront so you know what to plan for.
What Does the Final Walkthrough Cover?
The final walkthrough is your opportunity to review the completed work before signing off. A responsible roofing installation contractor walks you through the finished roof, points out key features like flashing details and ridge vents, and answers any questions you may have. You should also receive documentation of any warranties on both materials and workmanship at this stage. This step protects you long after the crew has left.
Frequently Asked Questions
How Long Does a Residential Roof Installation Take in Lincoln, NE?
Most single-family installations can be completed in one to two days, though project size and complexity may extend the timeline.
Do I Need a Permit for a Roof Replacement in Lincoln, NE?
Yes, Lincoln typically requires a building permit for roof replacements. Your contractor should handle the permit application for you.
How Do Nebraska's Freeze-Thaw Cycles Affect a Roofing Project?
Freeze-thaw cycles can damage decking and underlayment over time. Contractors account for this during tear-off inspections and material recommendations.
What Should I Receive at the End of My Roofing Project?
You should receive warranty documentation for materials and workmanship, along with a final inspection confirmation from your contractor.
Ready to Start Your Roofing Project in Lincoln, NE?
Working with an experienced local contractor can make the entire process smoother and less stressful. Principle Roofing & Exteriors serves Lincoln, NE, and surrounding communities including Gretna, Seward, Waverly, and Grand Island, managing every phase of your project from the first inspection to the final walkthrough. The team is licensed, bonded, and insured, and offers free quotes so you can understand the scope of your project before committing. To get started, contact us today or find Principle Roofing & Exteriors on Google to read reviews from Lincoln homeowners.